| |
Various Papier
Mache' Projects |
|
| |
(Home]
|
|
| |
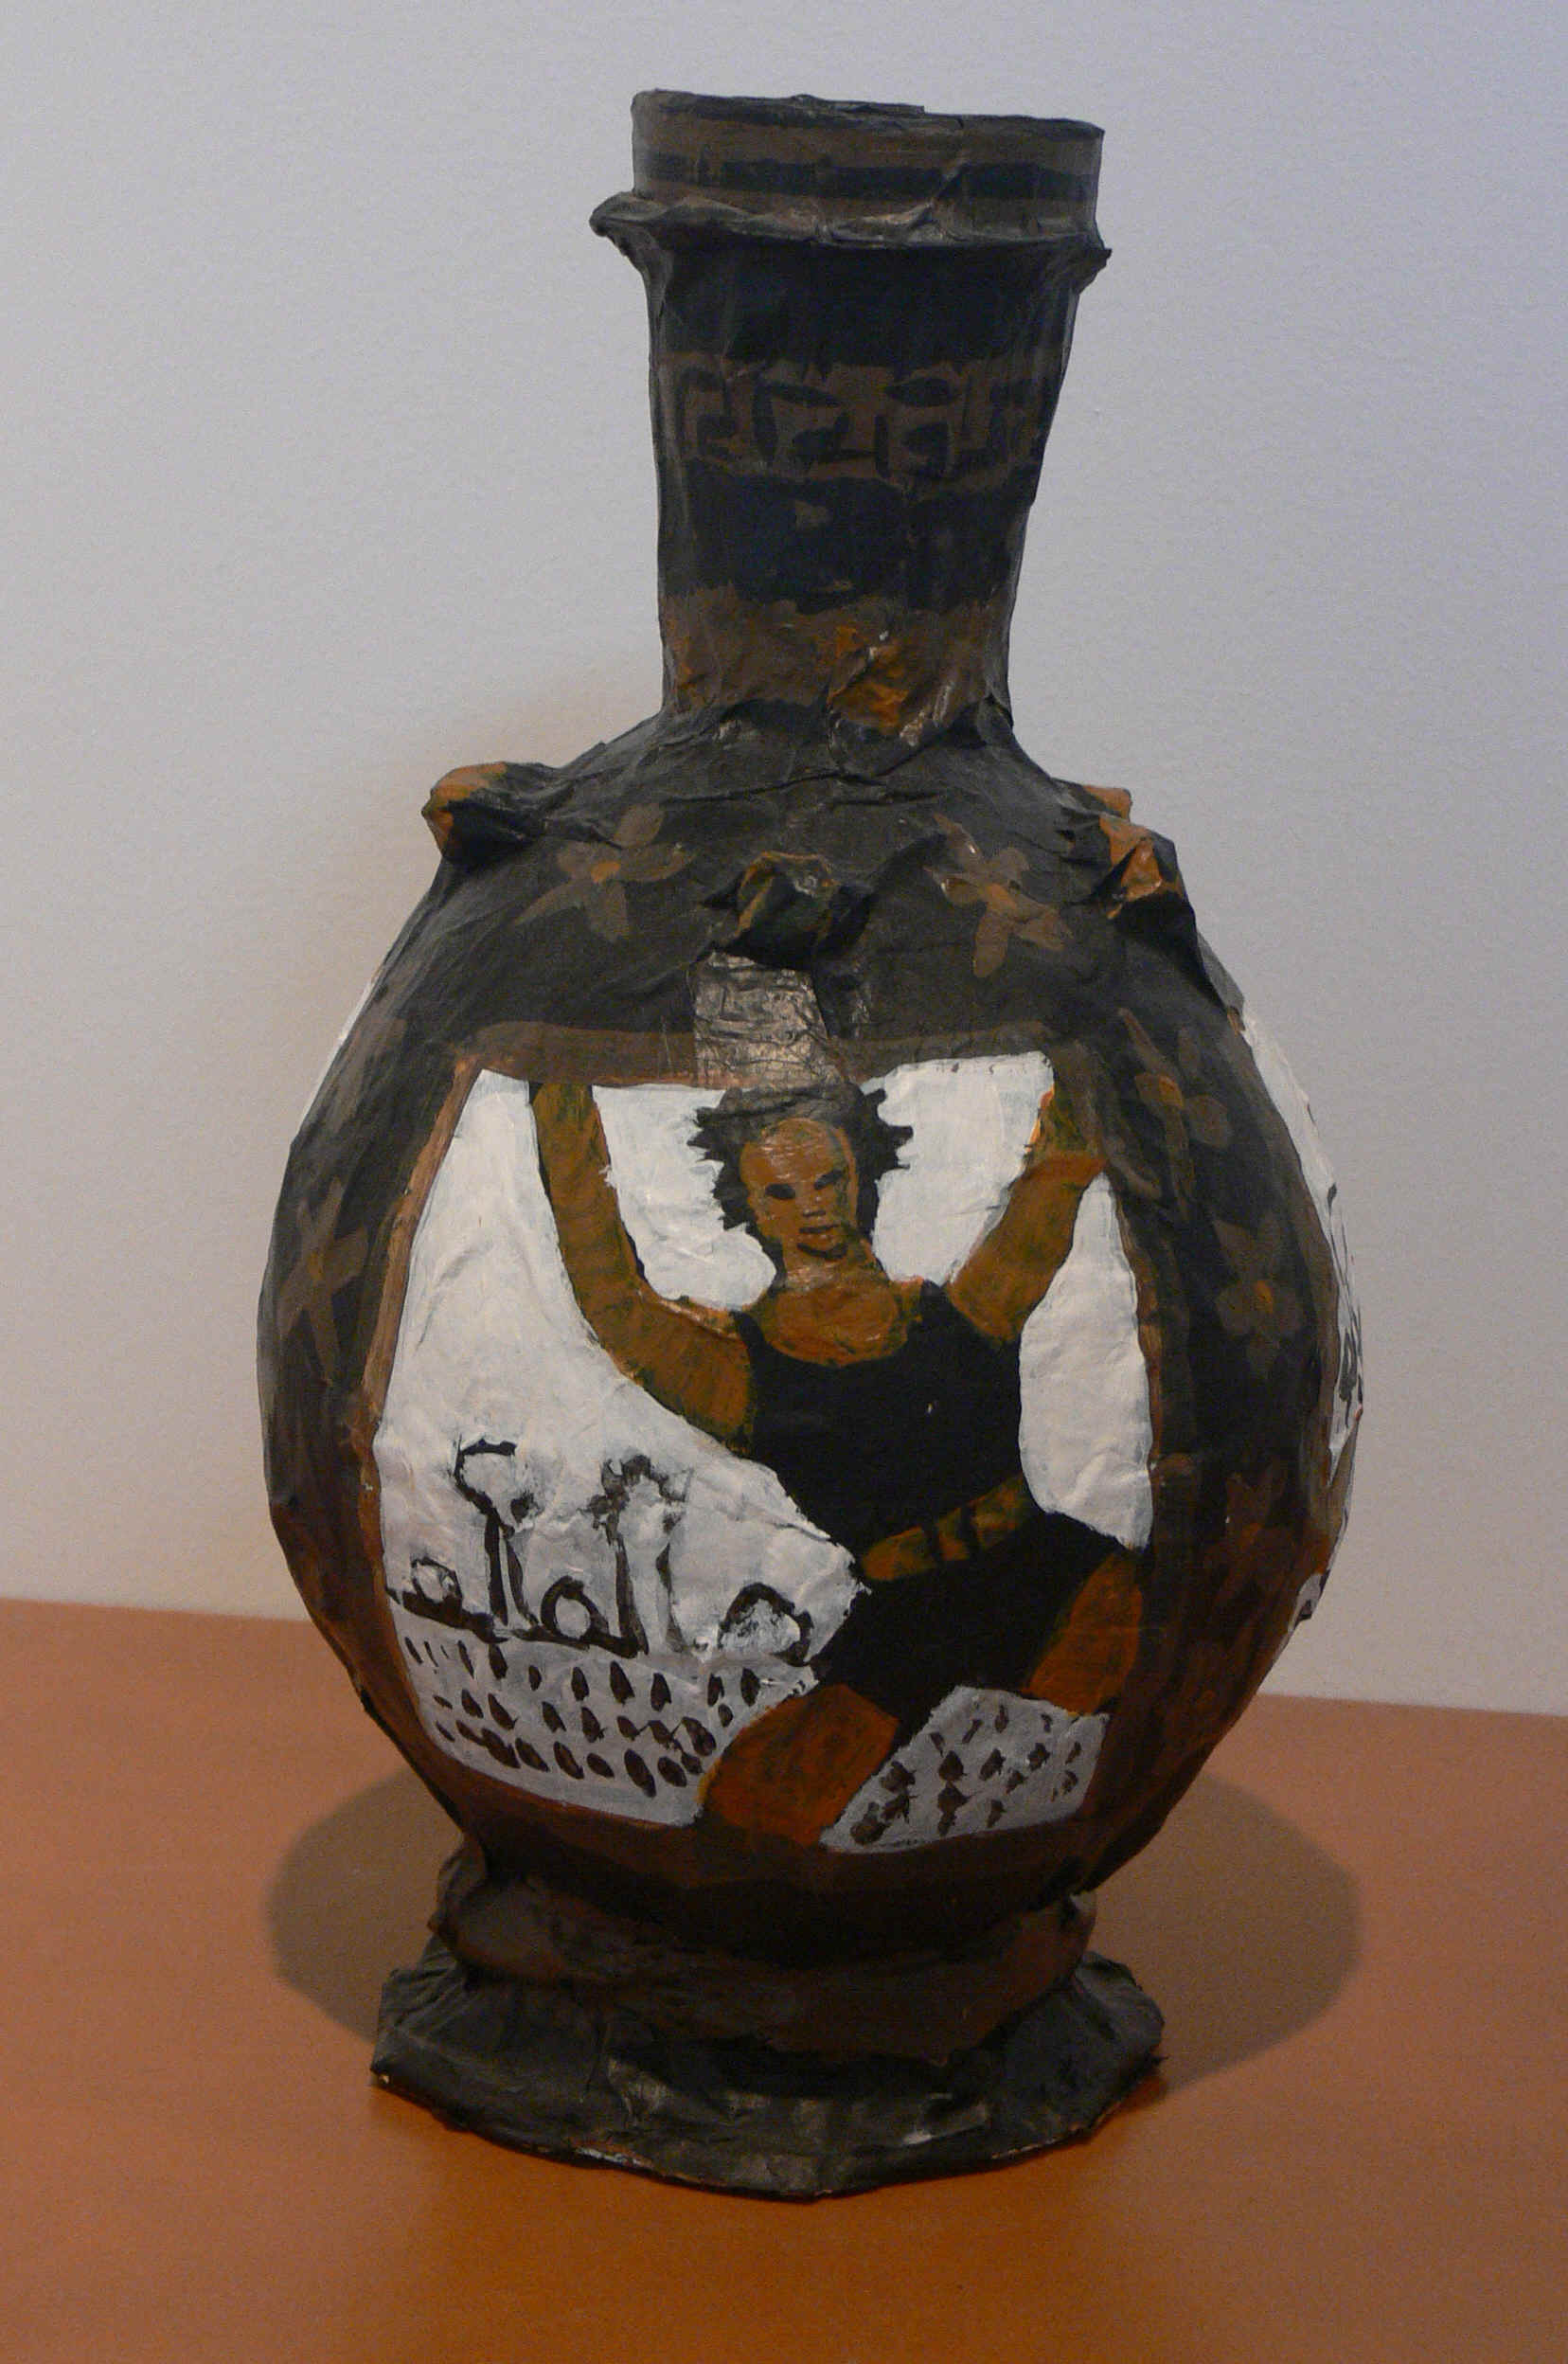
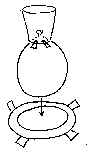
Papier Mache'
Vase |
|
| |
Session One (One Hour)
-
Pass out wallpaper paste/glue in small paper cups,
the brushes, 18" sheets of freezer paper( the project should be
worked and stored on this paper), and sections of newspapers.
-
Inflate balloon, a little smaller than the maximum
size.
-
Center cup and tape to the top of the balloon.
Position well before taping. Do not remove tape once on
balloon, as this damages the balloon surface and will result in the
deflating of the balloon. This may result in a burst or a slow
deflation over-night. If the balloon deflates, insert another
balloon into the remaining void and inflate. (One of the nicest
vases was made with the cup taped bottom. Try to encourage
independent thinking.)
-
Crumple a sheet of newspaper, smooth it back out and
then roll into a thin tube.
-
Tape the tube at one end and twist to make a coil or
snake. Tape at the middle and other end, so that the twisting is
secured.
-
Now take the snake/coil and form a circle that will
become the base. Compare to the bottom of balloon for size.
Carefully tape to the bottom, never remove the tape once on the
balloon.
-
Tear newspaper into strips (about 1" x 3")
-
Cover the project with wallpaper paste glue.
-
Apply strips of newspaper, starting around the bottom
base and working upward. Then moving from the cup downward.
Apply strips in alternating directions, being sure to apply glue
before putting another strip down. Glue, strip, glue, cross strip.

-
There are several way to apply the glue and strips
of paper.
-
Brush on glue, apply strip, brush glue over
strip. Glue. Strip. Glue. Cross-Strip. Emphasize
that two pieces of paper cannot be stuck together without a
layer of glue. Crossing or weaving applications work
best. If one piece is laid vertical, then the next piece
is laid horizontal. Working from tips (ends) toward the
center is best. (The neatest method)
-
Smear the glue on with the hands and then
applying the strips. (The best for shaping fun forms, but
dries slowly and is very messy.)
-
Dip the strips in the glue and squeeze off
excess glue by pulling strips between gently closed
fingers. (Most pliable paper, reflects the form
underneath. Medium messy.)
-
Encourage students to make as many layers as possible.
(Using plain newsprint instead of newspaper is a way of keeping track
of layers)
-
Textures can be added by soaking strips and balls of
paper in the glue, sticking to the vase, and working with fingers or
tools to final desired shape.
-
Carefully brush on a layer of gesso, using soft
brushes. Depending on the gesso, thin to brushable consistency
but leave thick enough to cover the newspaper. If blank
newsprint is used a thinner gesso may be used. Let dry for
several days.
Session 2 (with clean-up 1 hour)
-
This is the fun session, break out the acrylic paints
and let them at it. It can be fun to suggest themes (pets,
summer activities, Greek urns).
-
A hair dryer on a low setting can speed the drying of
the paint, if students need to take work home that day.
|
| |
| |
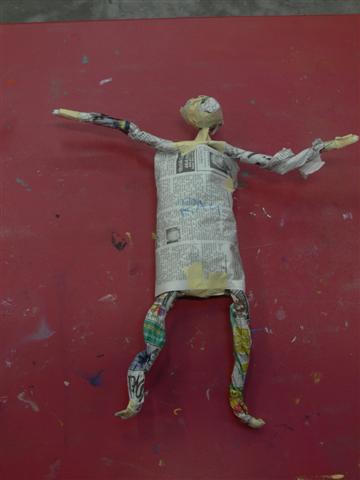
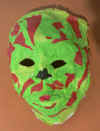
Papier Mache'
Mask |
|
| |

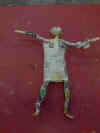
This mask was gessoed and painted with acrylic paints.
|
|
| |
Supply List:
-
Wallpaper Paste (Dry
wheat paste is the traditional medium; however, many instructors are
using the pre-mixed liquid. It's more expensive, but convenient
for smaller groups.)
-
Utility Brushes (1"
bristle, house painting brush is excellent)
-
Masking tape
(inexpensive variety works fine)
-
Newspaper
-
Aluminum
Foil
-
Paint (Gesso and Acrylic
Paints are preferred. You can use tempera, but it has a tendency to
flake.)
-
Optional: Various Bric-A-Brac
-
Optional: Acrylic Medium
(Gloss or Matt) or Acrylic Poly-urethane
|
|
| |
|
|
|
Text |
|
|
|
|
|
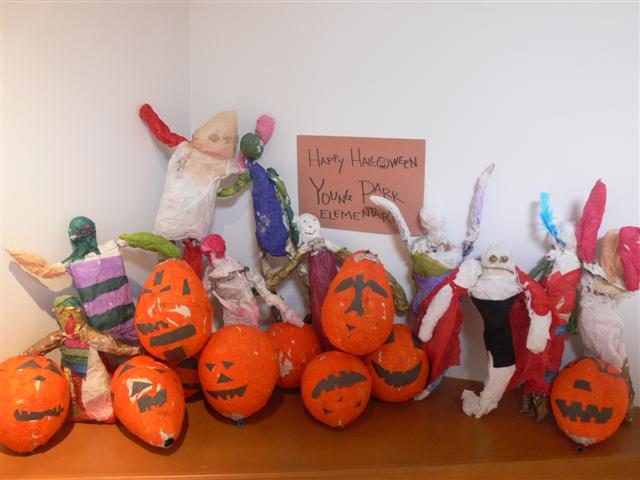
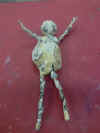
Halloween Fun |
|
|
|
|
|
Text |
|
|
|
|
| |
|
|
|