|
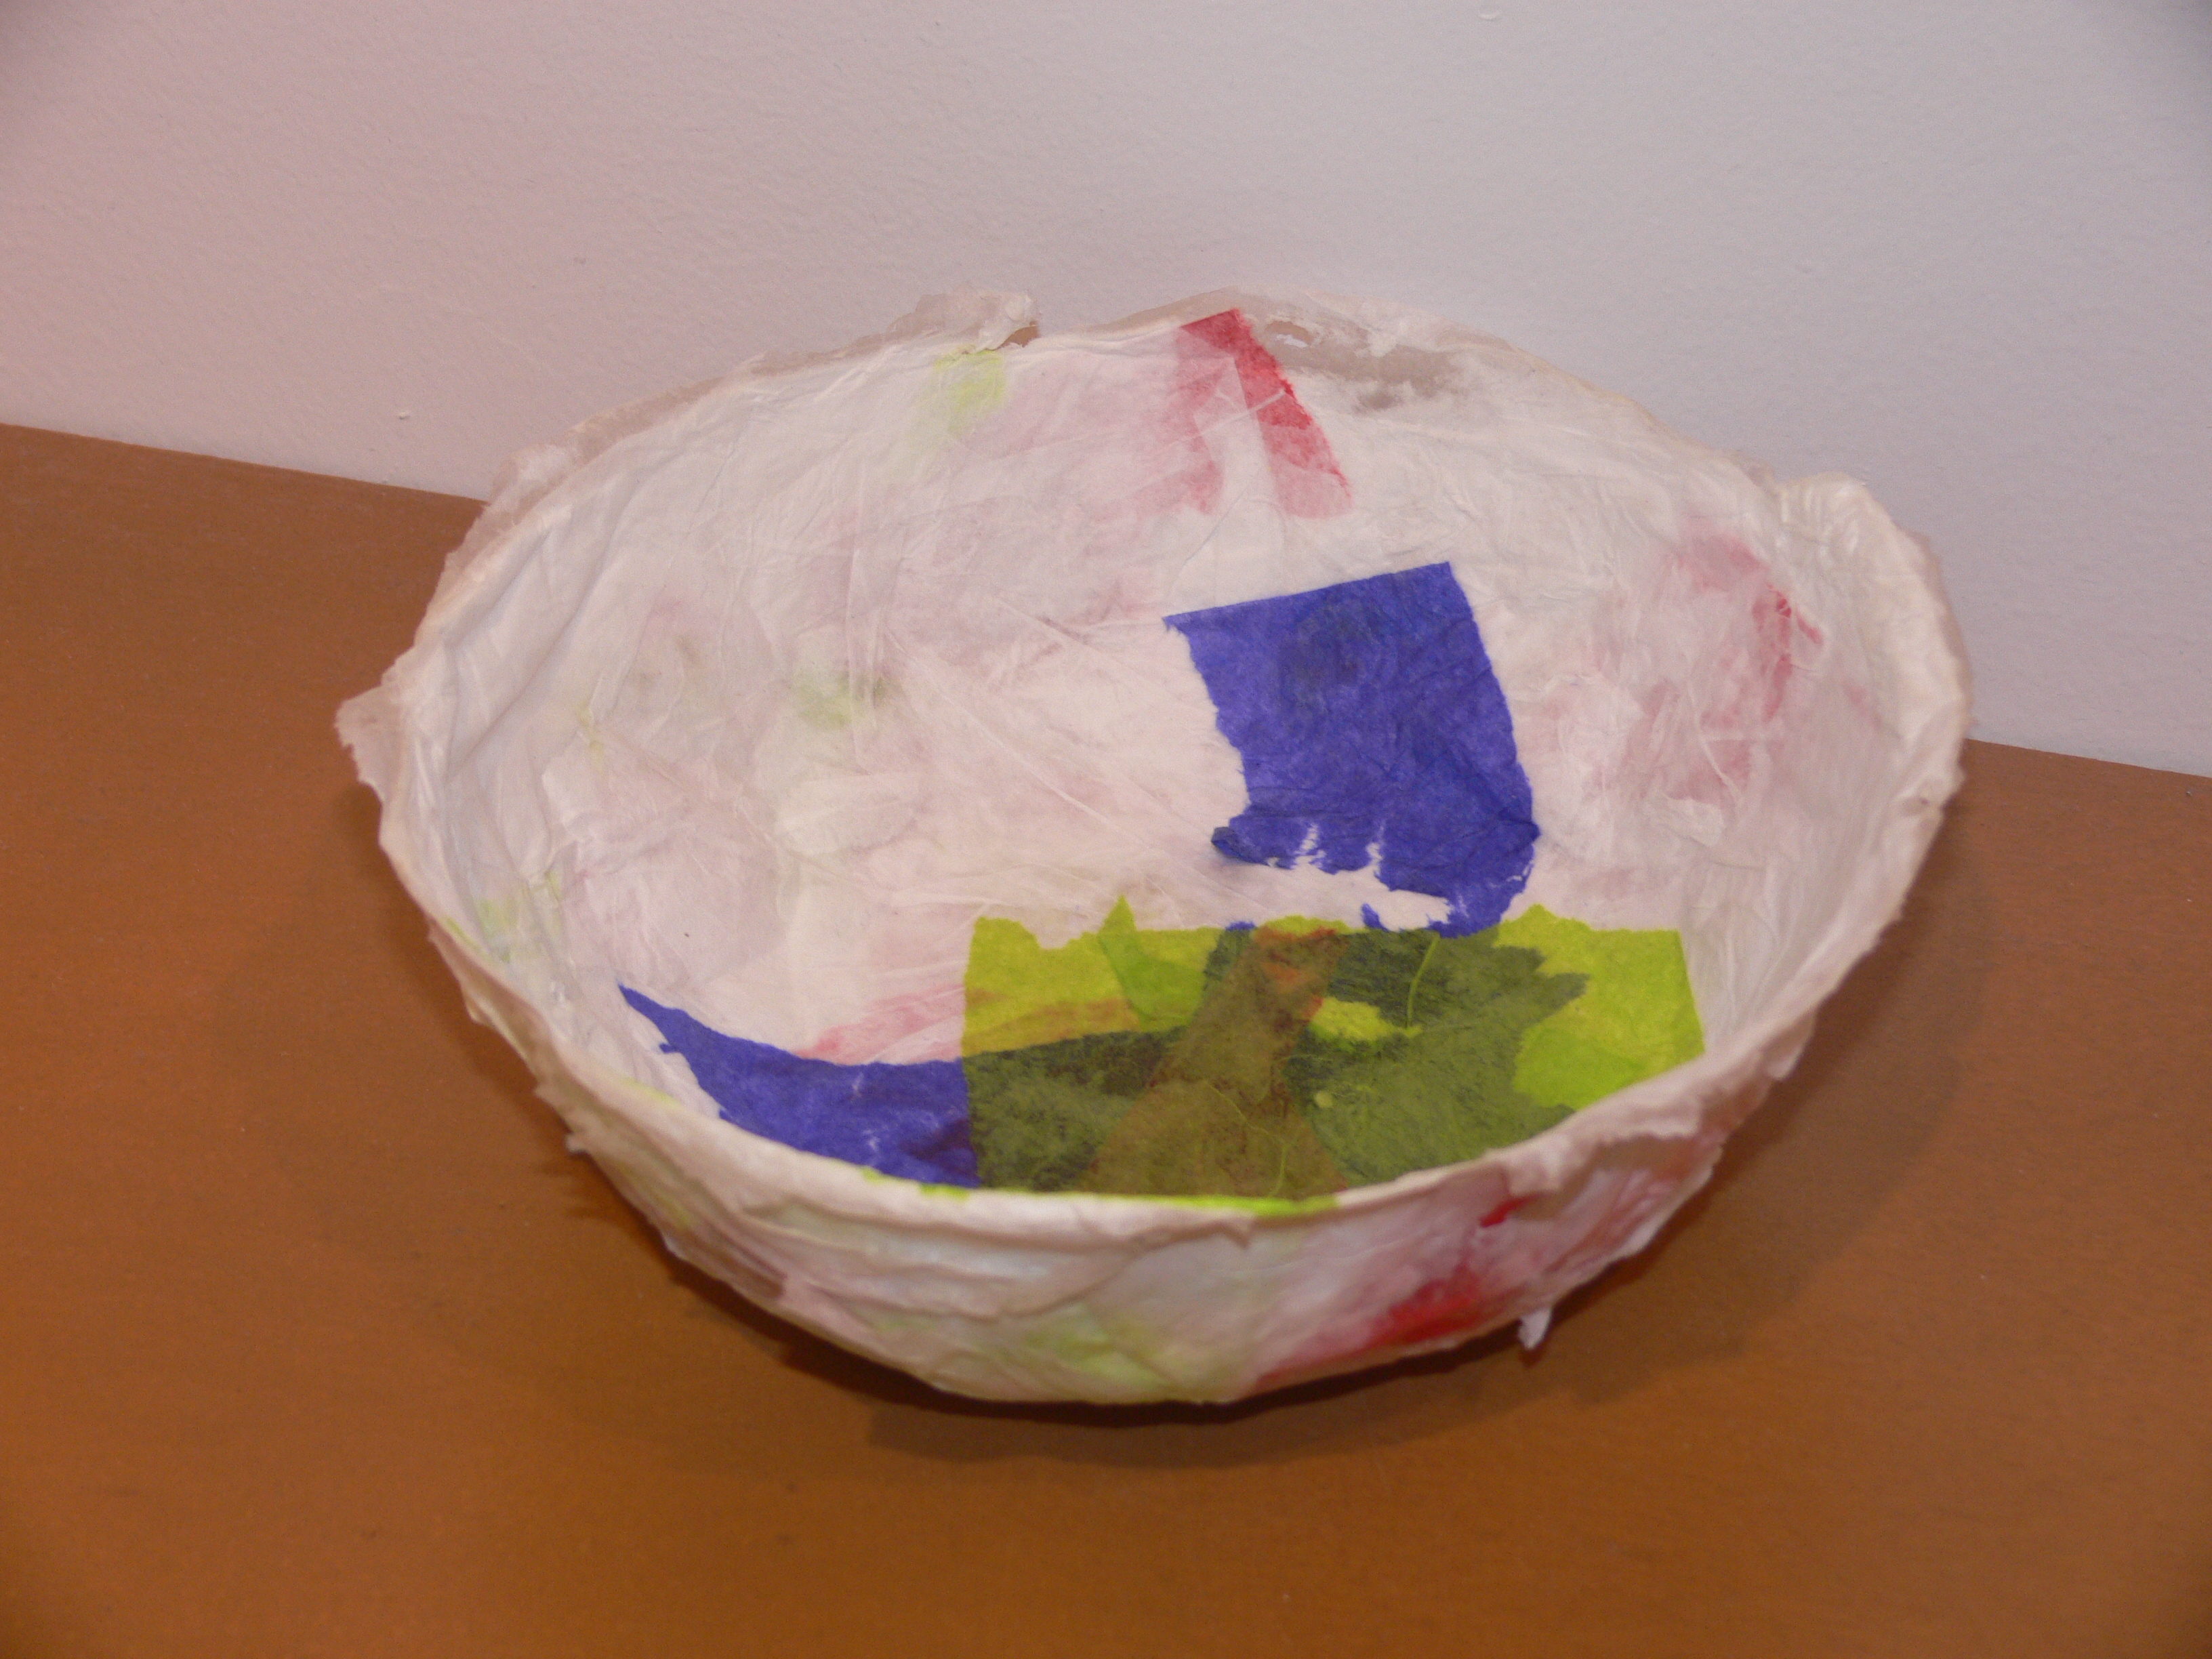
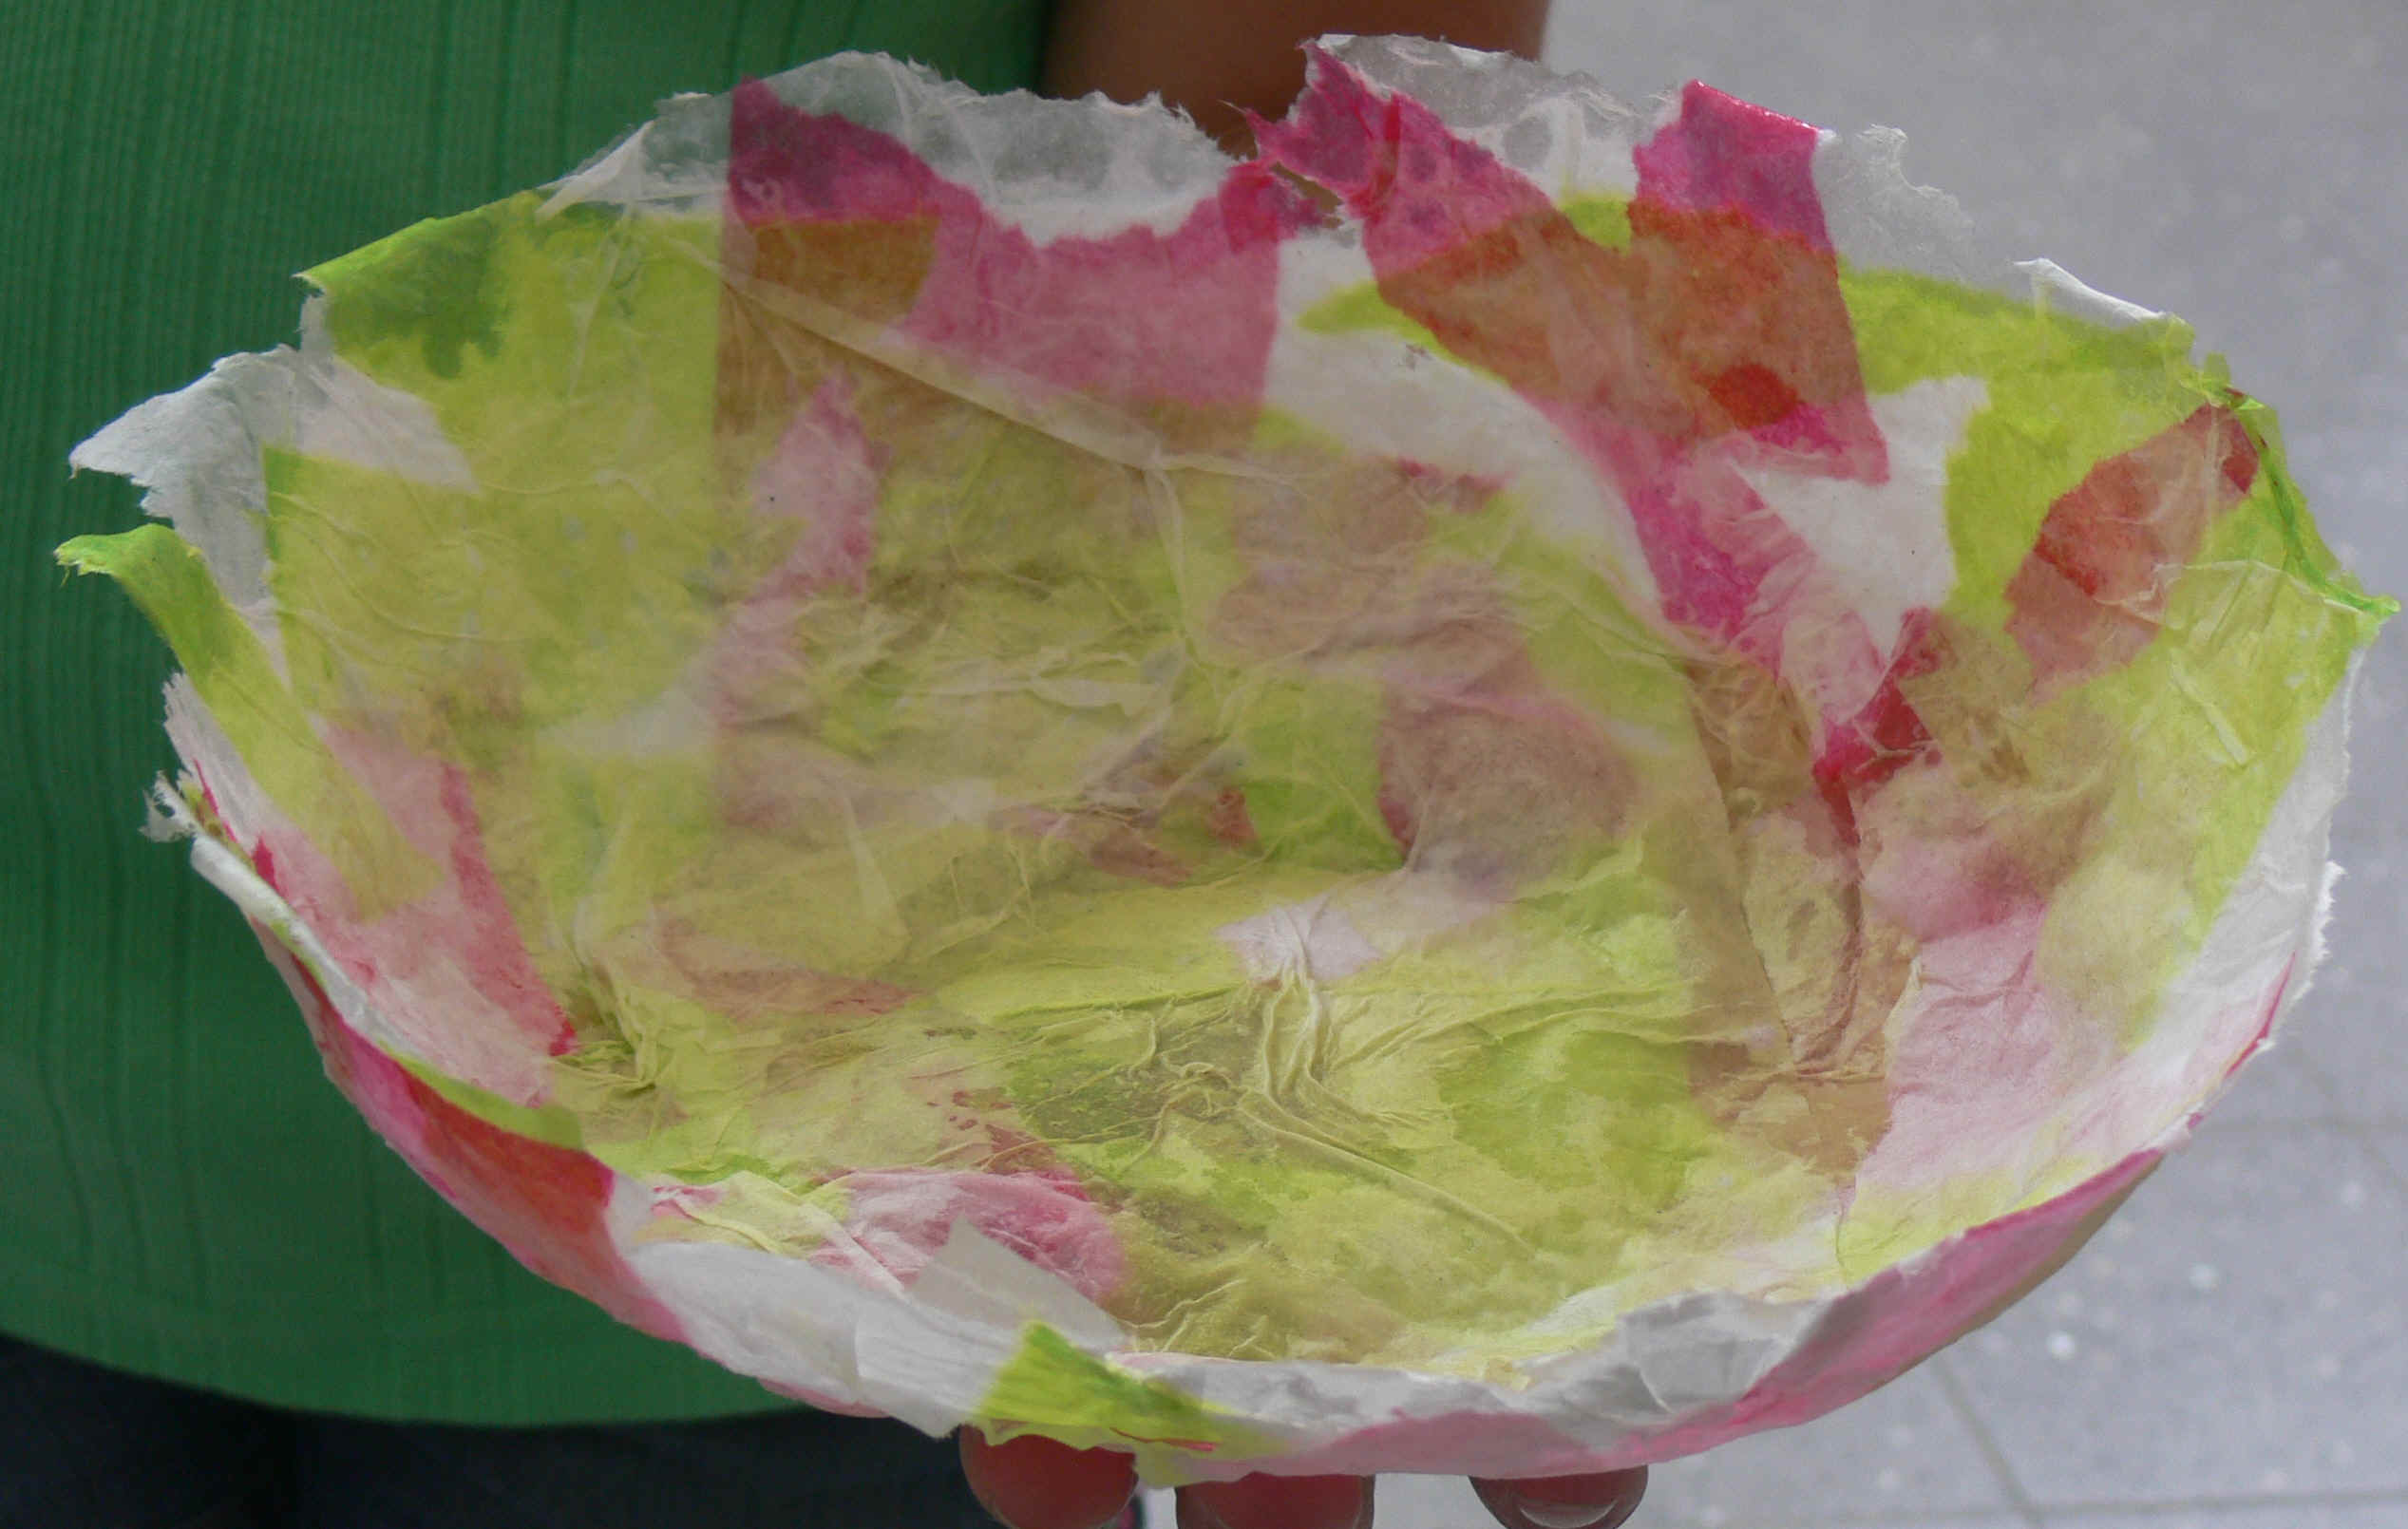
Papier Mache Tissue Bowls |
||
|
|
|||
|
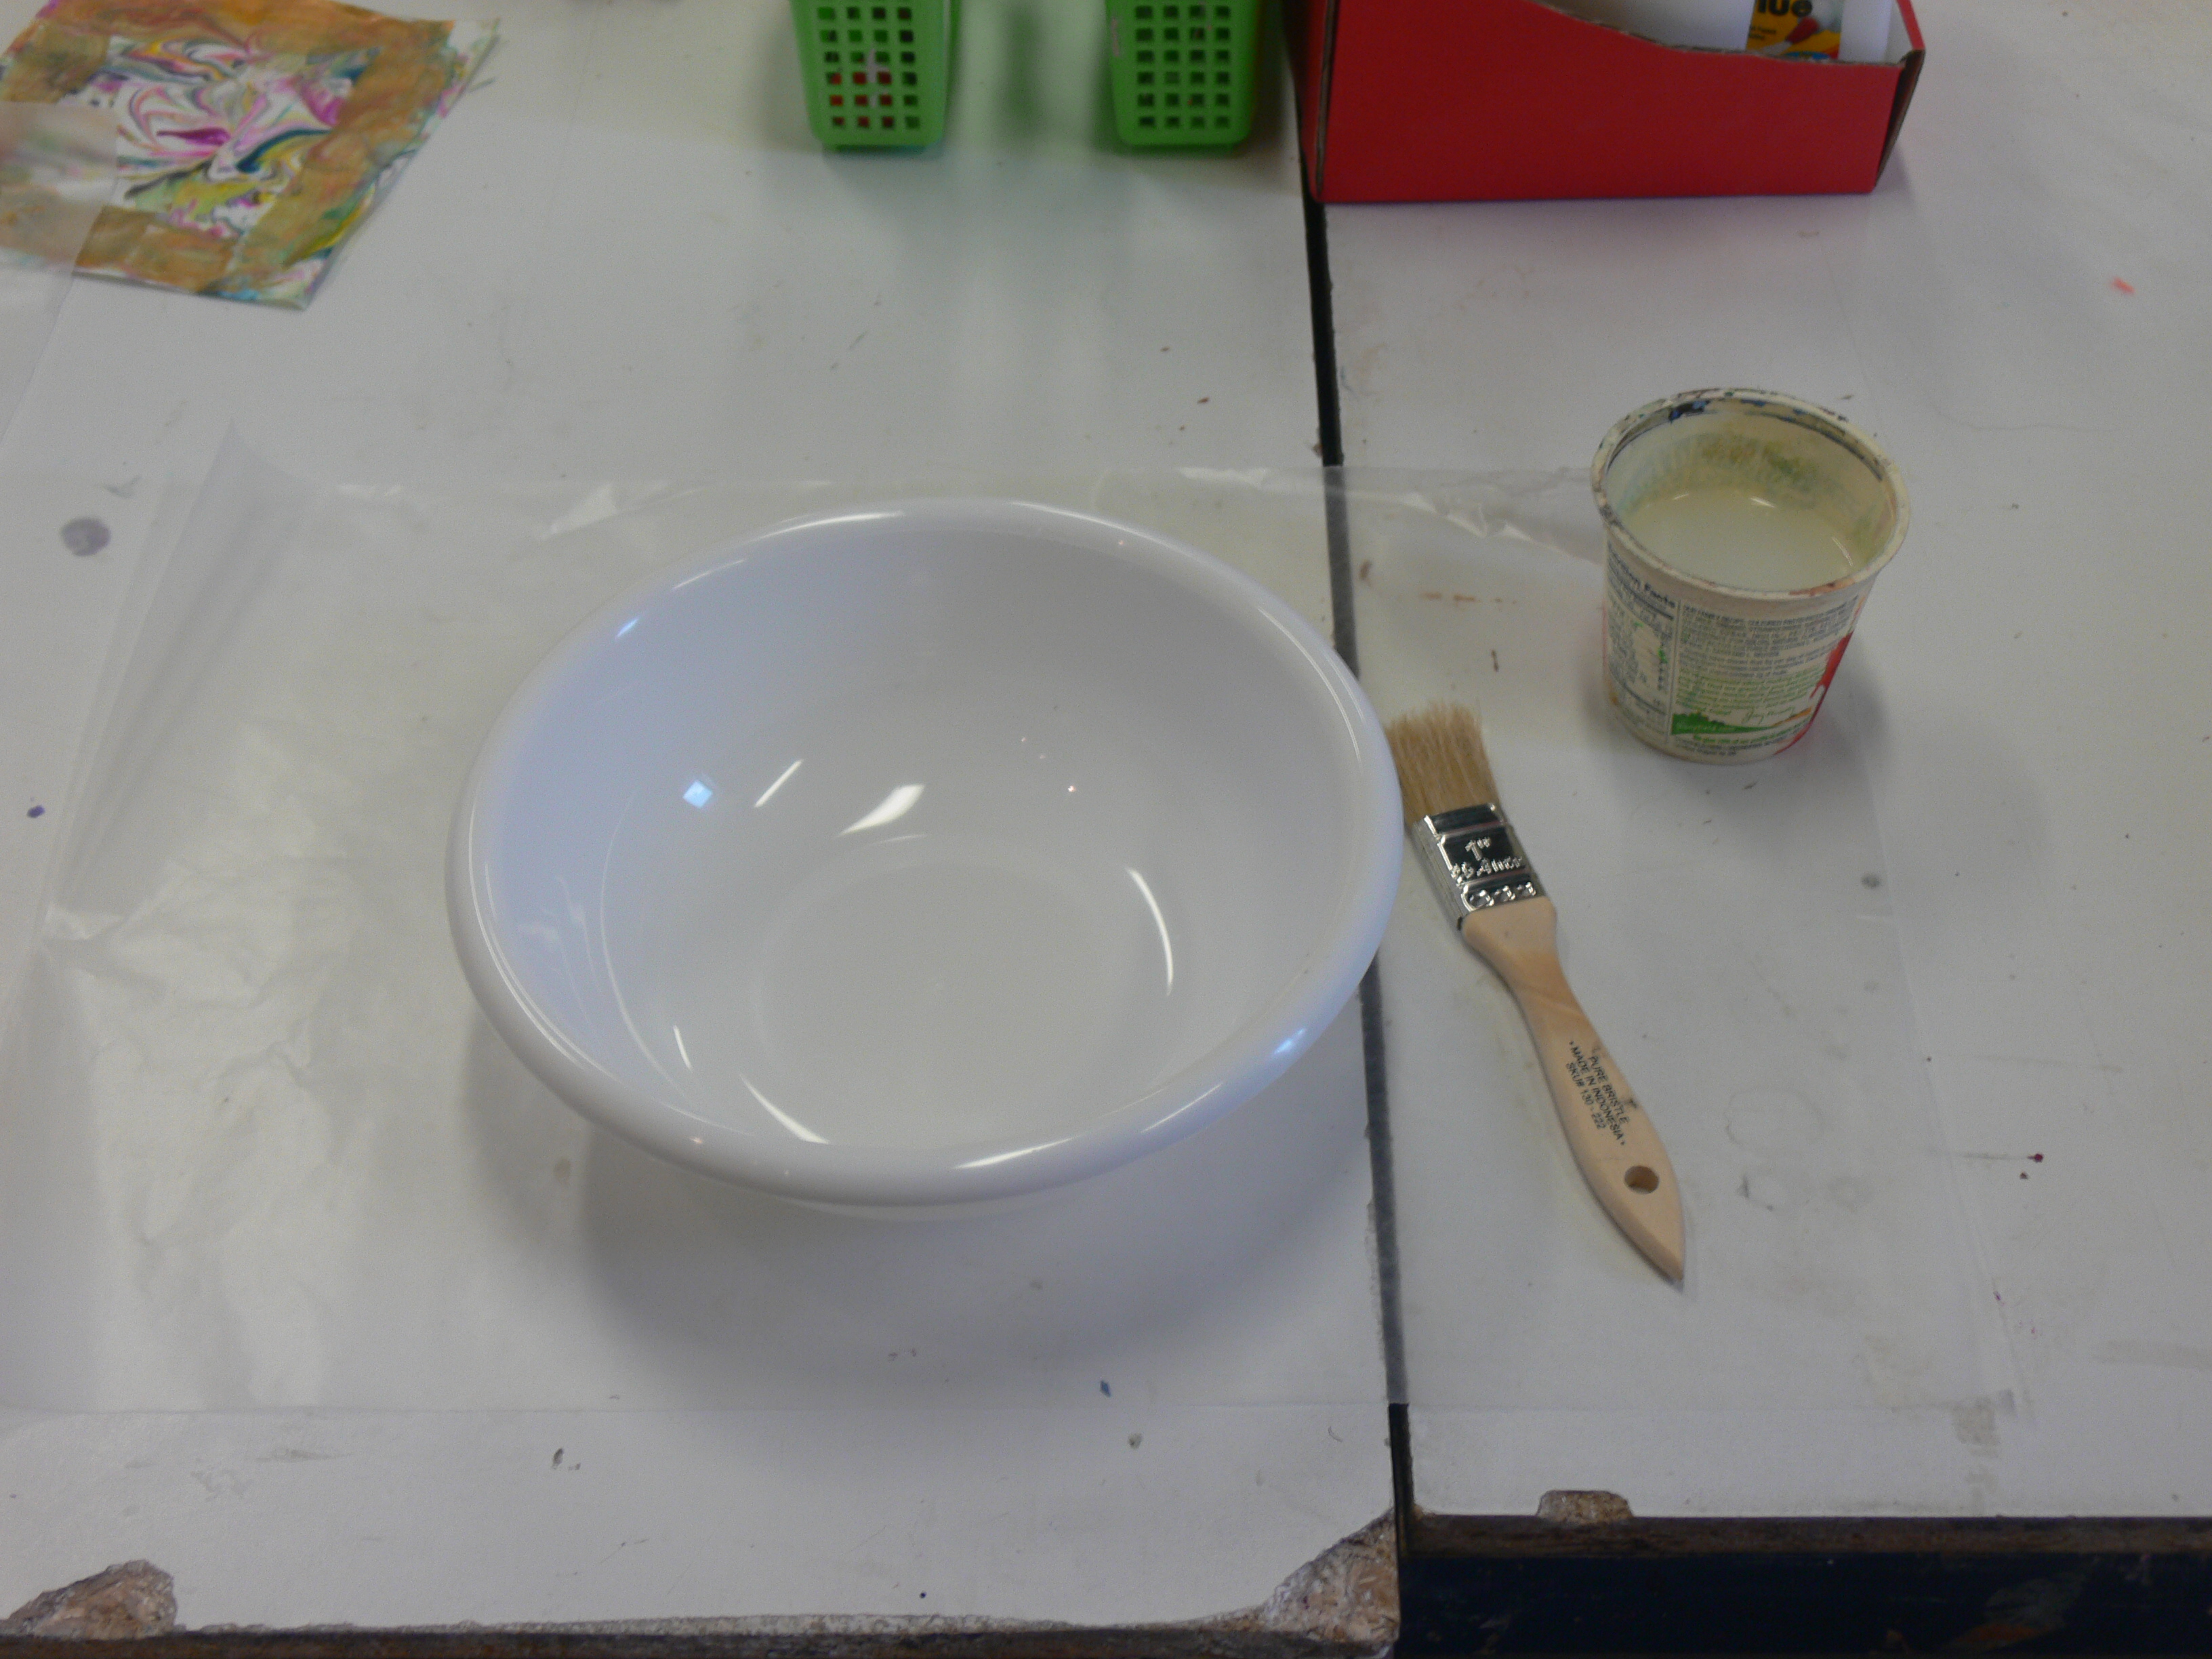
Supplies and Materials: |
|||
|
|
|
|
|
|
Class Time: 1 hour, including clean-up
|
|||
|
At least 30 minutes before class, mix the wallpaper paste using the instructions for papier mache' on the box( If no instructions, then mix a thick liquid using about a gallon to a box). I mix about 1 box/gallon per twenty students. To strengthen the paste, I add about a cup of school glue, Elmer's glue or acrylic gloss medium. Put a thin layer of Vaseline or cooking spray (use the spray in a well ventilated area) on the bowl. Use a paper towel to smooth and remove any excess. Warn students about the importance of working on the freezer paper (wax paper is a fair substitute, but not for energetic gluers). Putting their names on the freezer paper makes identification easier.
|
|||
|
|
|||
|
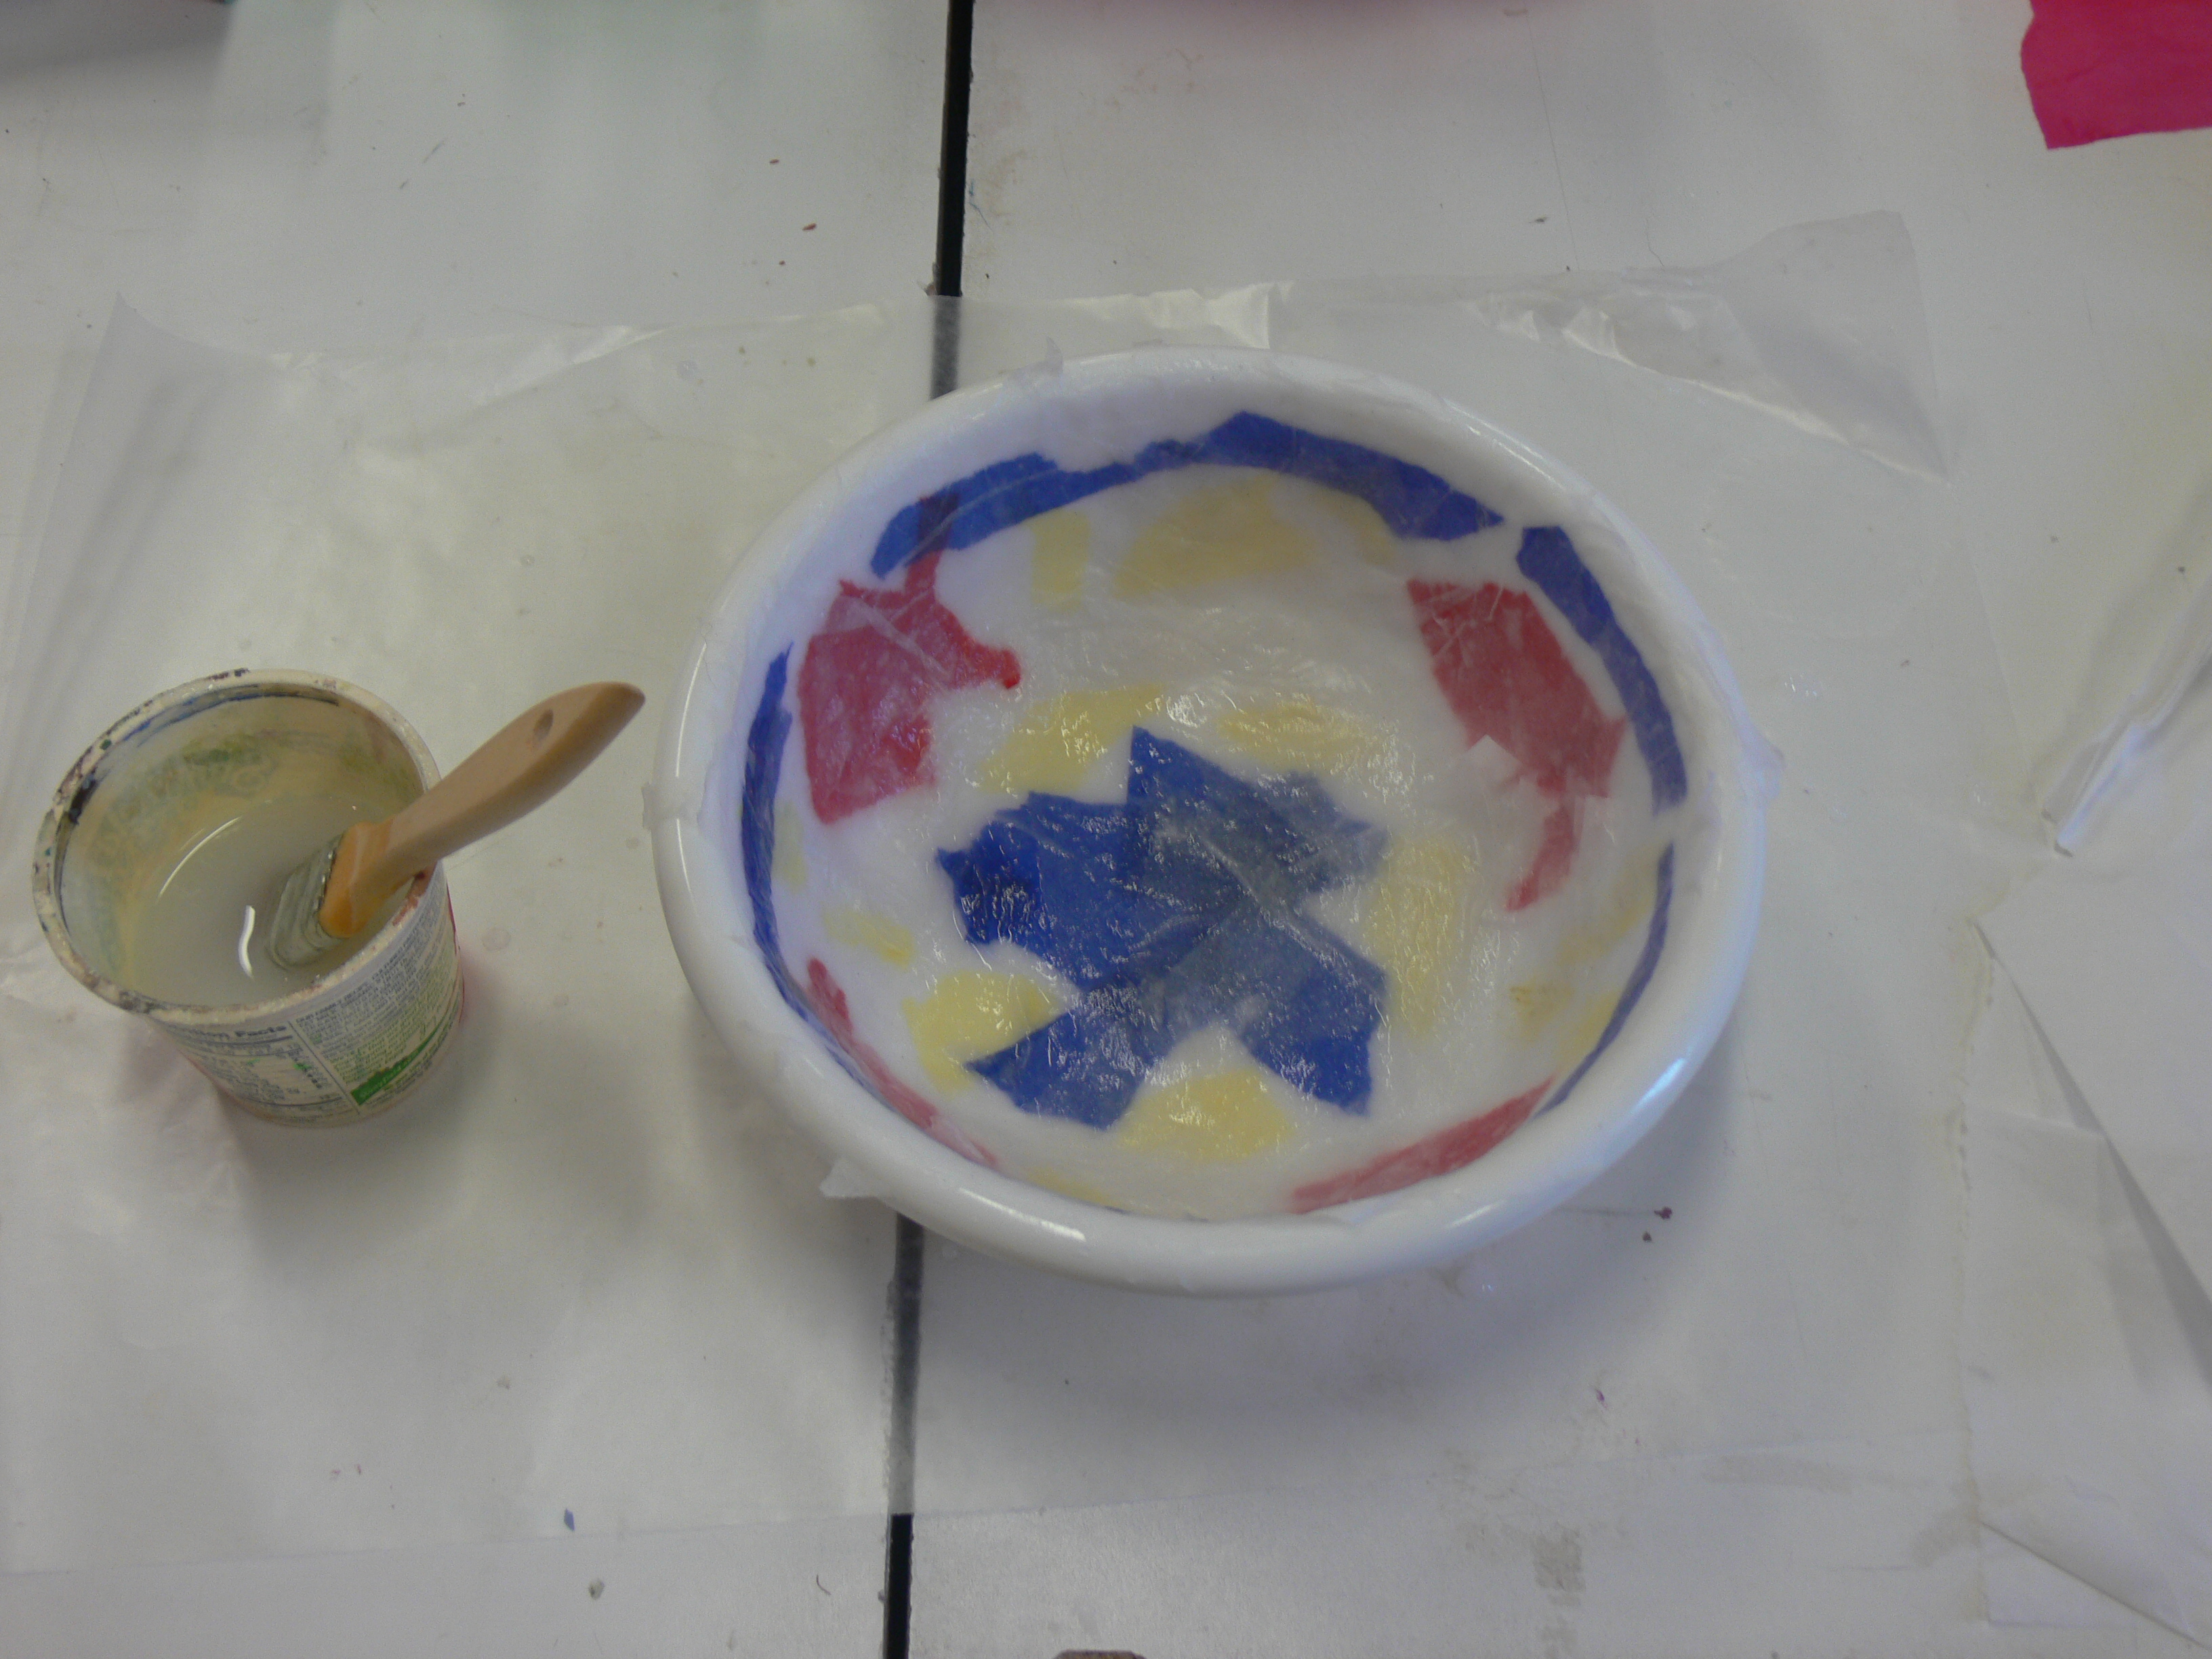
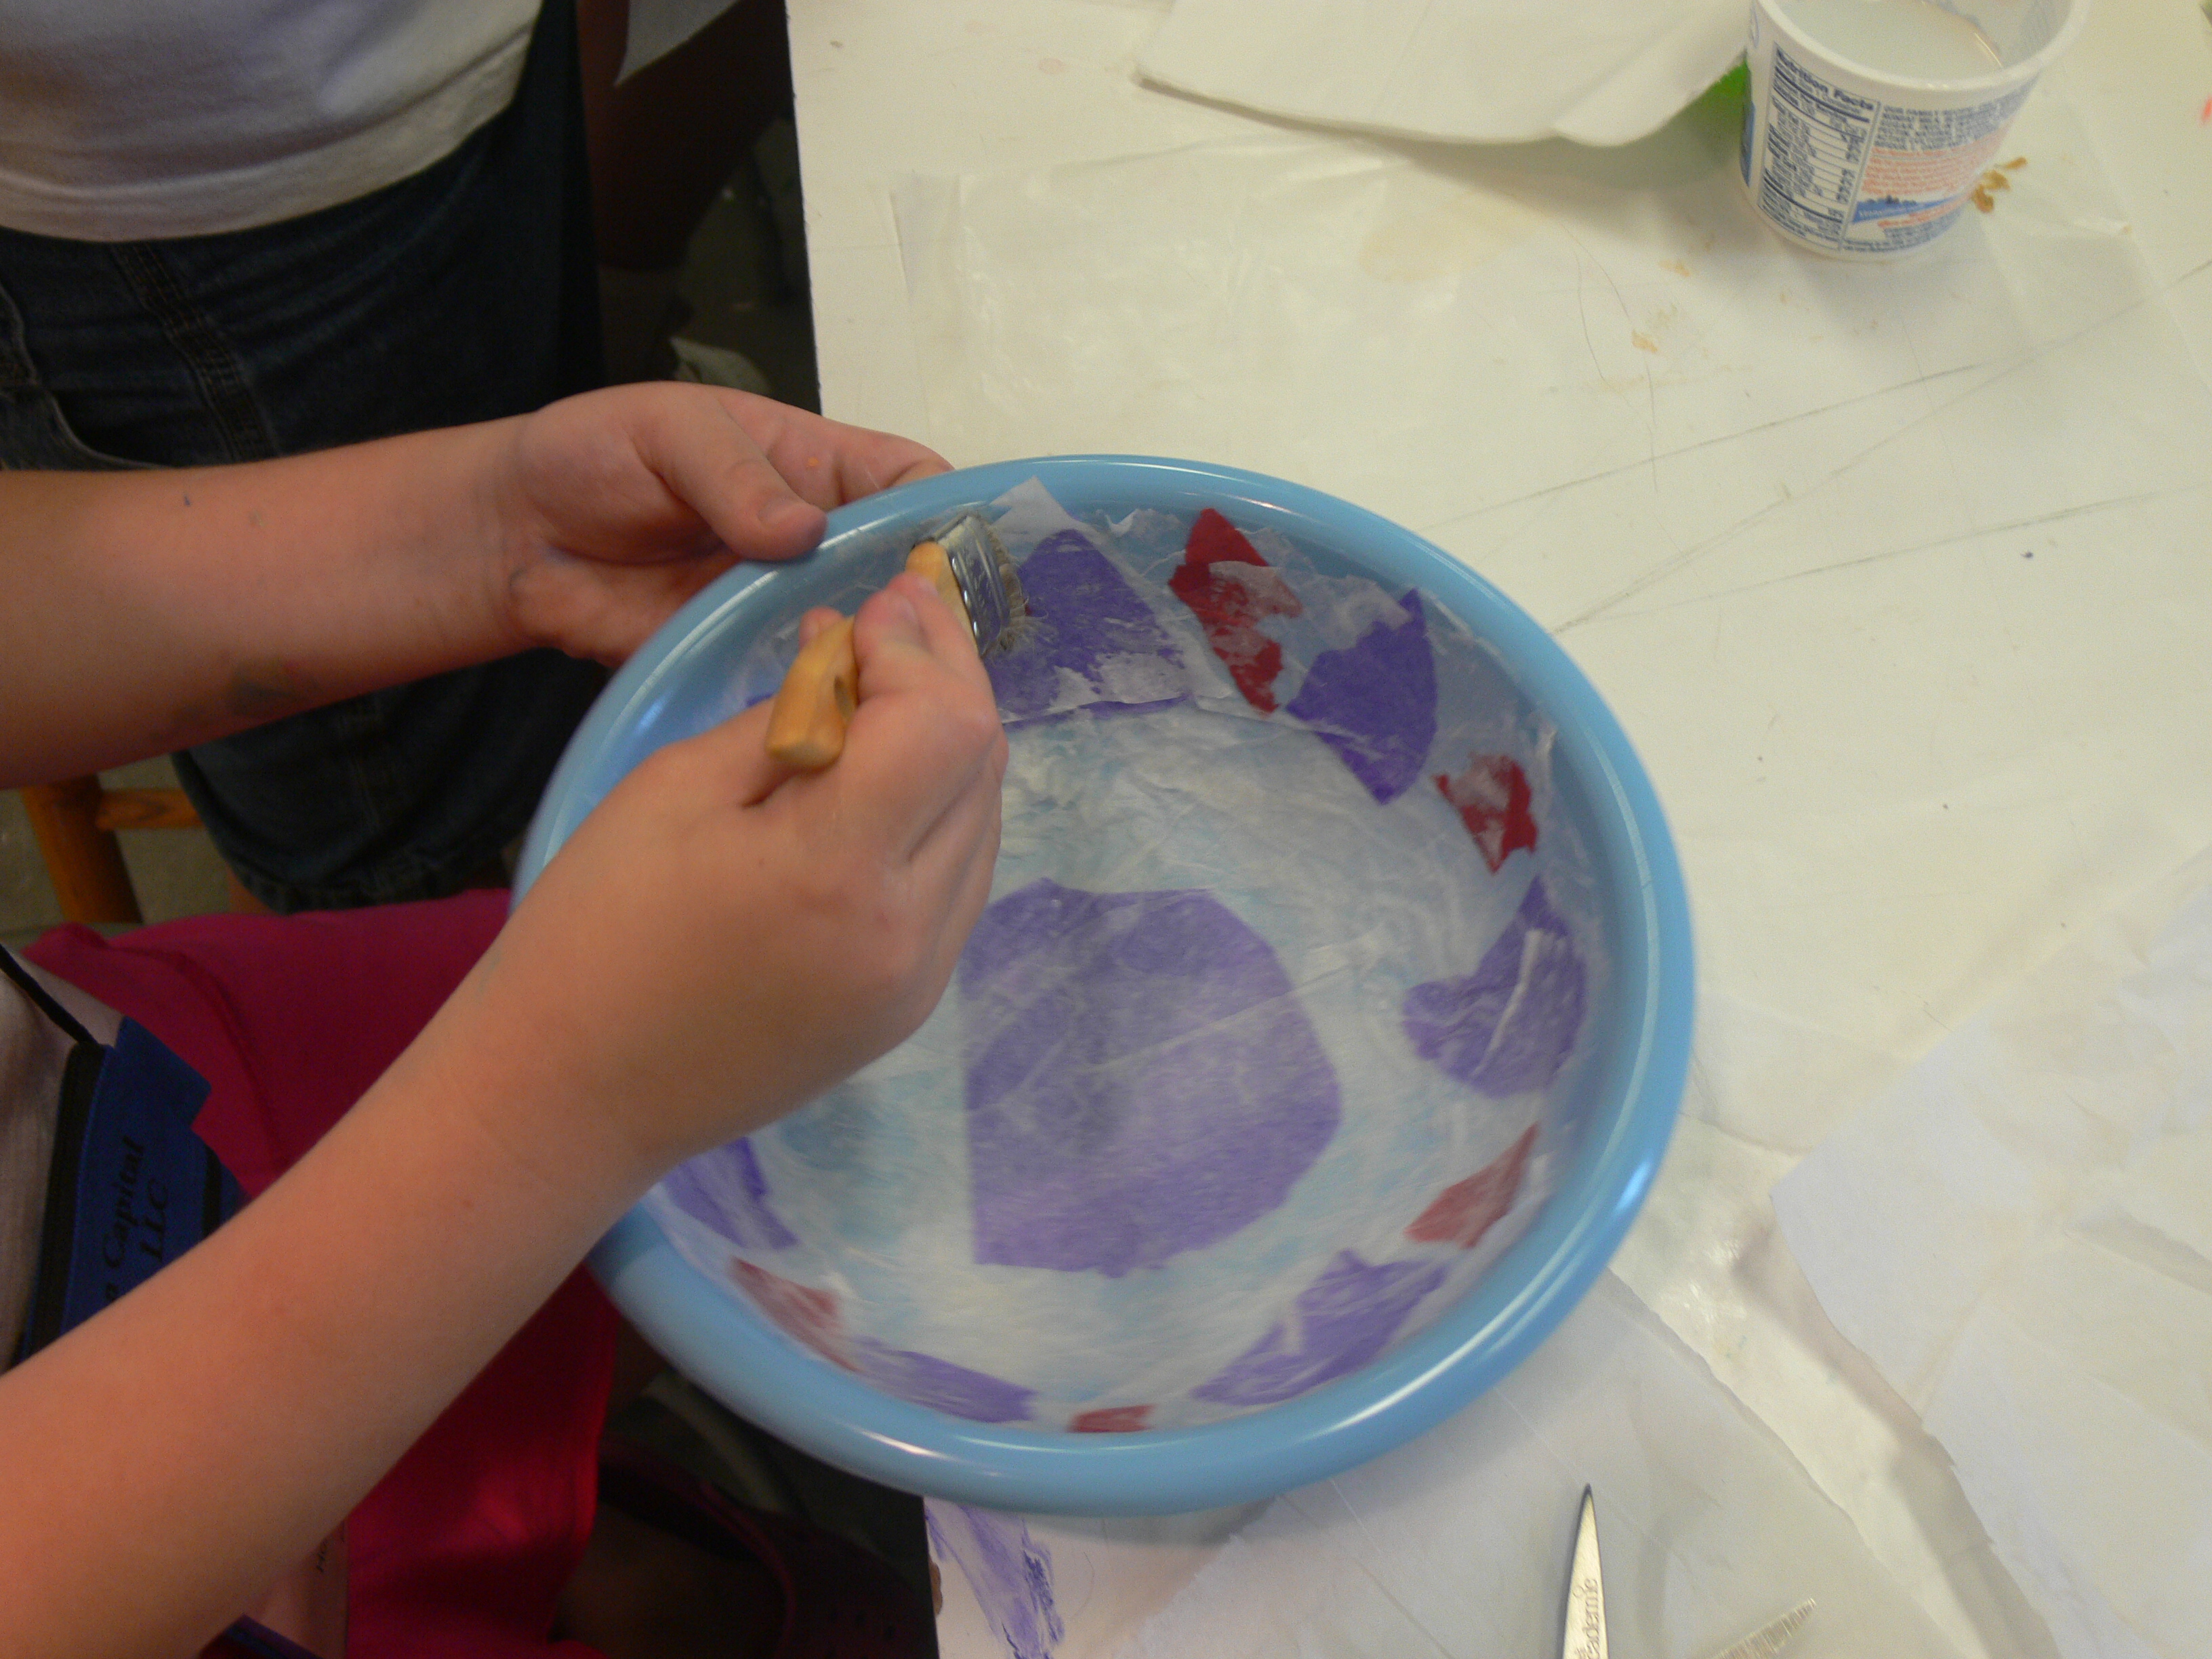
With brush apply a thin layer of glue, don't press down and disturb the Vaseline. Pour out any excess glue. For vivid patterns arrange first layer of color tissue paper in fun shapes directly onto the bowl. For more frosted effect lay down a layer of white tissue paper. With the brush, lightly spread a light layer of glue (working out any wrinkles) over each shape of tissue paper. Students will need to be reminded constantly that two pieces of paper require glue between them. It helps at this point -- especially with younger students -- to talk about the icky, slimy nature of the glue, rather than to let them discover it on their own. Some students will prefer to use their fingers rather than the brushes. this is fine, just remind them to use gentle strokes.
|
|||
|
|
|||
|
Build up layers with the white tissue paper. The more layers, the stronger the bowl will be, and conversely the less layers, the more delicate and transparent. Yarn, string, and small flat items (dried leaves, flower petals, & cut-outs) can be added into the layers for interesting effects -- dip them into the glue and then squeeze the excess glue between the fingers. The torn edges of the tissue paper will make an interesting and natural lip on the bowl; however, some will want to rework the lip. |
|||
|
|
|||
|
Applying color shapes to the inside of the bowl can be done as the final step. By putting another layer of white tissue paper over the inside design can help create a frosted effect. Set bowls aside to dry. This may take a few days. The final drying can be speeded along by (the instructor) using a hair dryer. NOTE: You can just use white paper (or any solid color) and splash watercolor or tempera or glitter on the bowls. Once dry the bowls can be coated inside and out with an acrylic poly-urathane or other plastic coating. I brush this on but you could spray. |
|
||
 |
|
||